***This Will Be My First Ever Post in My Blog Towards My Blog Journey***
Curry Leaf Plant Best Known For It's Aromatic Fragrance They Produce From Their Leaves. It Is An Easily Grown Herb In Anyone's Backyard With Little Care And Maintenance When We Have An Abundance of Warm Weather. We Can grow This Plant Inside Under Artificial Light as Well Where There Is No Tropical Climate or Winters Are Not That Good. The Leaves Can Be Used in Many Dishes Across India , Sri Lanka. These Days With the Popularity Of Their Benefits Like Rich in Calcium and Iron, Started Using By All Over The World Mostly For Their Medicinal Benefits. They Are Many Advantages to Human Body When We Consume Direct or Indirectly.
 |
| Freshly Harvested Curry leaf From My Garden. |
Propagation Of Curry Leaf Plant : The Plant Can be Propagated By 3 Ways.
1) The Off Shoots That Developed by A Matured Mother Plant Near The Trunk Area.
2)Propagation From Stem Cutting.
3)Propagation From Seed.
Advantages & Convenience :
Off Shoots: I have Tried The Off Shoot Method From My Matured Plant Which is About 2 and 1/2 Years Old. That's When You Start Getting The Shoots From The Mother Plant, And These Shoots Need To be Taken/Separated From The Plant Very Carefully. Sometimes We Have Very Low Success Rate in Getting Them With Roots & Eventually Ended-Up With Killing The Little Sprout. Especially This Method Will Not Be A Very Good Idea to Choose When We Want To Multiply The Plants At Your Garden.
Stem Propagation : I Personally Tried Propagating the Curry Leaf Plant From Stem and Also Air Layering Method And Never had Success With This Option. When There Is Time and Money is Concern, I Would Not Recommend This Option. In Both The Way's I tried About 3 Times With Different Stem Diameter's and No Success.
Seed Sowing: Often This Step Will Be The Most Successful and Yet Very Efficient Process to Get The Best Curry Leaf Plant In Garden. But There Will be A Catch Here . It Is
*** Seeds Need To Be Really Fresh and Plucked From Plant Very Carefully When They Are Fully Ripen and Dark in Color. ***
Please See The Picture of Viable Fresh Seeds Before Plucking From My Plants In My Garden. Seeds Need to be Really This Big and Dark in Color. It Confirms That They Are Ready To Harvest And Plant Immediately.
 |
| Curry Leaf Plant With Fully Ripen Seeds From My Backyard. |
In My Experience, After Plucking The Seeds From Plant, They Need To be Sowed With in 24 Hrs., When The Time Passing, The Germination Rate Of The Seed Will Be Decreasing Notably and Will Eventually The Seed Will Be Unviable.
Few Pics From My Back Yard When The Seeds Are Harvested.


Once The Seeds Are Harvested With The Bunch, We Need Separate It From The Green Stem and Remove The Seed Out and Soak For Few Minutes Before We Ready With Soil and Planter Pots.
Please Find the Working Stills Of How We Separated It and Soaked In Water Step By Step in A Order.
 |
| All The Freshly Harvested Berries In A Bowl |
 |
| A Closer Look Of Fully Ripen Curry Leaf Berries |
 |
| A Bunch With All Ripened Curry Leaf Seeds |
 |
| Feeling Awesome When These Many Seeds In Both The Hands.. |
 |
| Gently Squish The Seed Top Part Which Is Covered With Ripen Skin |
 |
| When Squish Force Applied, The Seed Come Forward and The Skin Goes Back Ward |
 |
| A Closer Pic of The Seed When The Seed Come Front and Skin Goes Backward And Little Amount Of Flush on Seed. |
 |
| All Skin Removed Seeds Need to Be Soaked in Water, To Avoid Getting Them Dried & Unusable. |
 |
| Can be Squished With two hands, if You Are Unfamiliar and Fear to do With One Hand. |
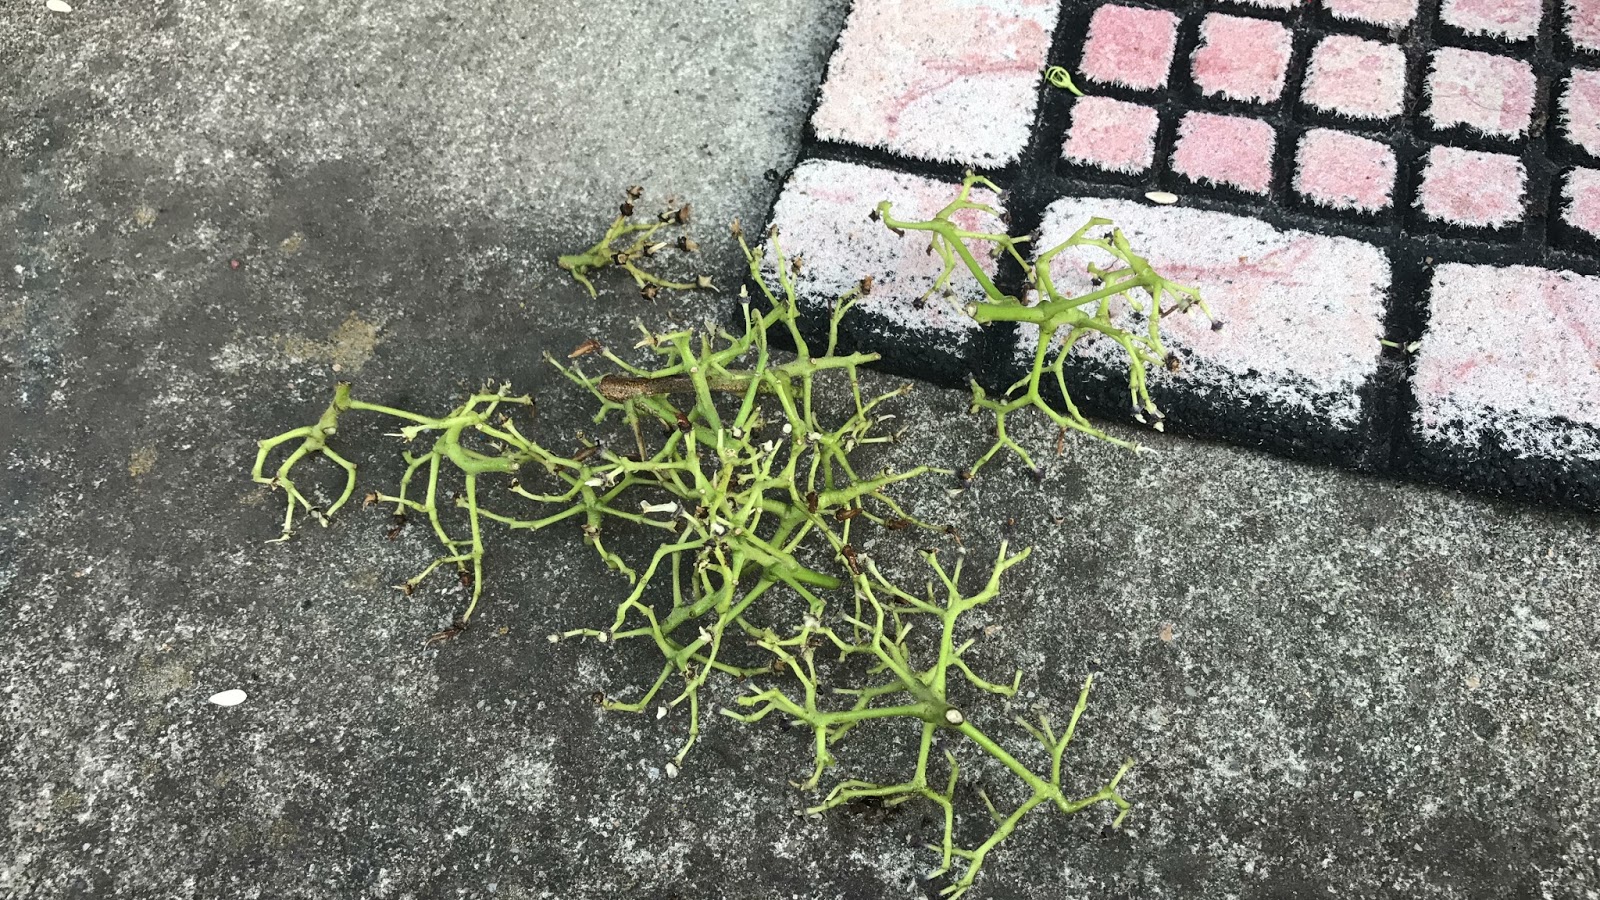 |
| Once All The Seeds Collected, The Seed Stem Bunch Look Like This. |
 |
| Closer Look. |
 |
| Removed Skin of Curry Leaf Seed |
 |
| A Final Look of Seeds Skin |
 |
| All The Seeds Once the First Round of Rinse Off To Remove The Flush |
 |
| Seeds Will Be Going To Stay For A while Before We Are Ready With Seed Starters |

 |
| My Curry Leaf Tree Provide THE BEST SEEDS WHICH ARE VERY LARGE |

 |
| Pulp That Came Out After Multiple Washes of The Fresh Seed. |
Hope Everyone Enjoyed The Step by Step Procedure Till Now, I Able To Capture These Pictures While Working On Hard To Get These Seeds Into Life..!! :)
Once The Seeds are Ready and Sitting/Soaking in Water, On the Other Hand We need to Work With Soil Preparations To get Seeds Sowed.
SOIL REQUIREMENT :We Need To Choose The Soil Which Is Loose and Not Compact. In My Opinion The Regular Soil Still Work But The Chances Of Germination get Dropped Based On The Soil Medium We Chosen. I Prefer to Take Any Potting Mix or Coco Coir or Peat Moss Or Perilite Even. The Medium We Used To Sow The Seeds Should Be Lite and Fluffy and Holds the Moisture Well and Balanced. Otherwise Seeds Will Be Rotten and Damaged During Their Journey Before Even The Sprout.
Please Continue To Pics...
 |
| The Potting Mix Medium Need to be Wet But Not Soggy or Soaked in Water Like Above. |
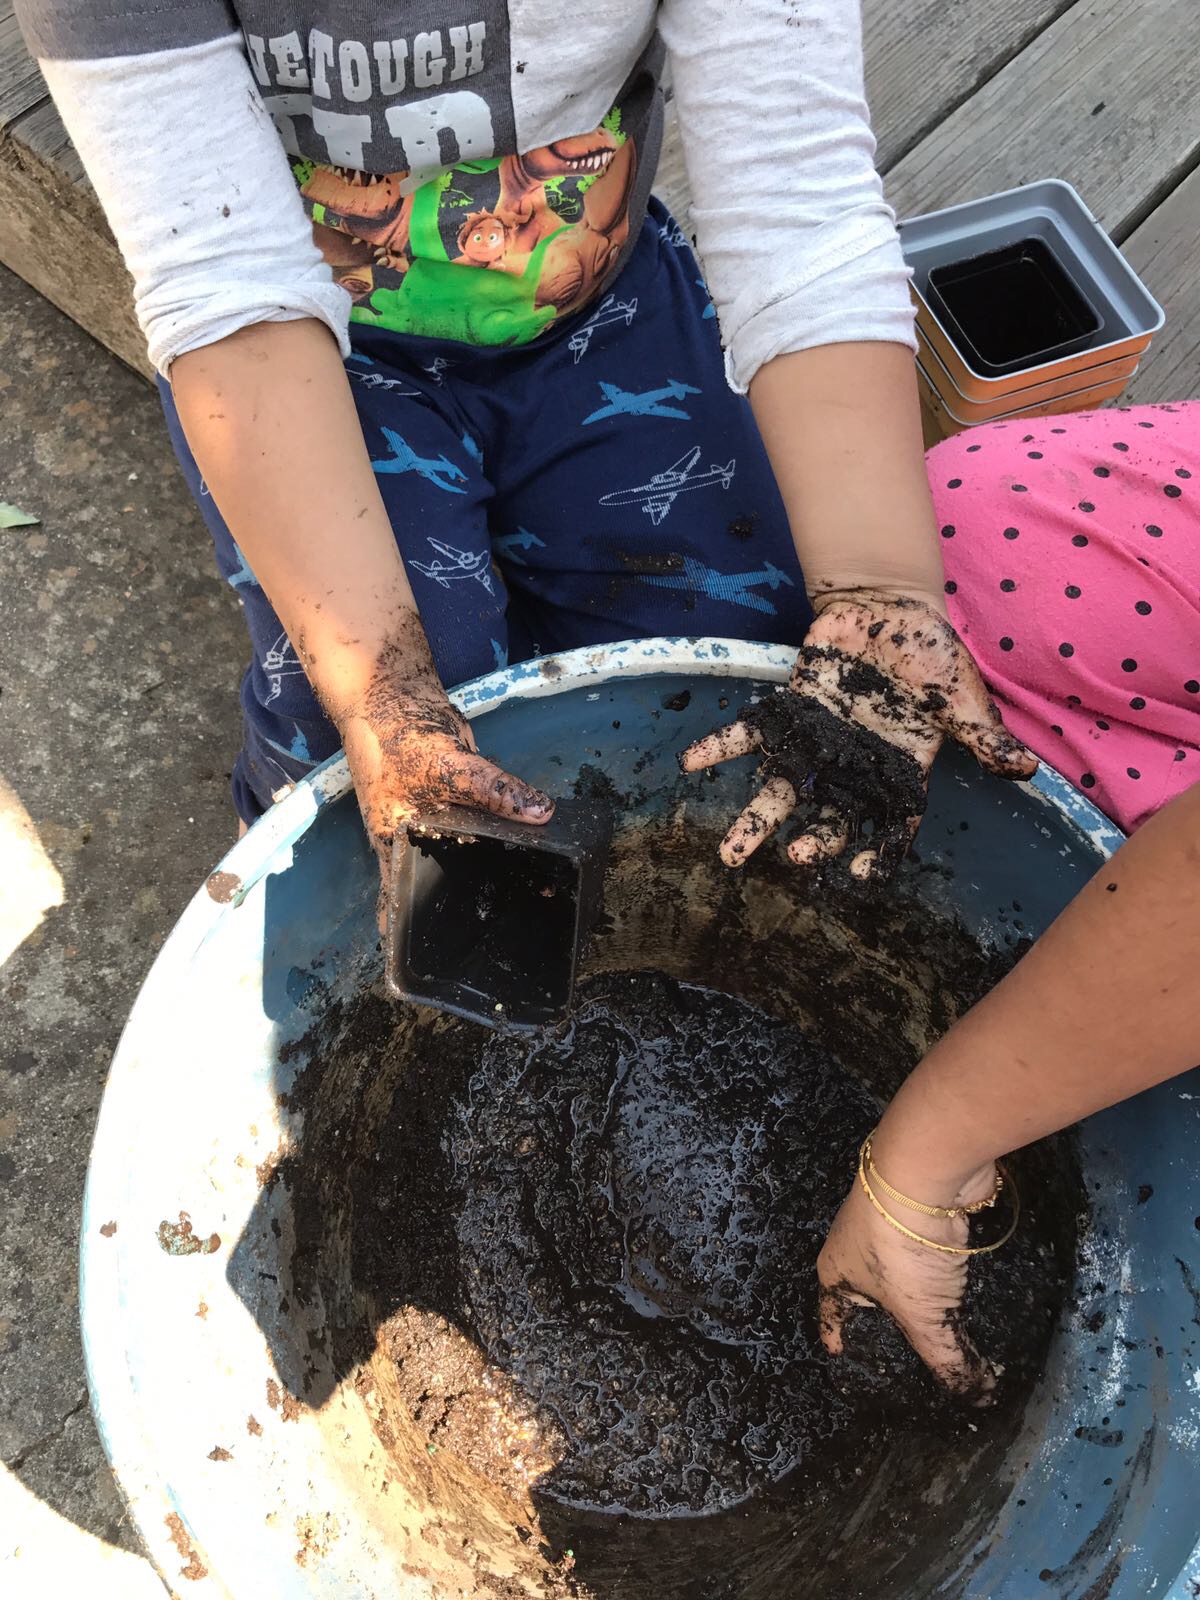 |
| Since I Got Soggy/Wet Mix, I Am Squeezing the Excess Water With The Help of My Son Before Putting Into Seed Starter's |
 |
| As I Had Many Seeds, I have Prepared 200-300 Seed Starters to Sow My Seeds. All Are vary in Different Sizes. |
 |
Curry Leaf Seeds With Jiffy Seed Starter With Own Potting Mix
|
 |
| Once Done-One Seed Per Tray, Close Them With Little Bit of Potting Mix and Moisten It Again. |
 |
Seeds Layed On Flat Surface of The Potting Mix Which is Poured and Stabbed and Flatten.
|
Keep Them In Warm Place Where the Soil Temperature Should Be Between 70-80 Degree , And Keep The Soil Always Moisten. We Would Be Able To See The Sprouts in Less Than 5 to 7 Days.
Method 2 : Since I Have Many Seeds This Year Somehow, I Planned To Experiment Different Process To Come up and Get Familiar With Which One Is Most Efficient to Go Always..!!
As part Of That Journey, Second process Is, Once The Seeds Are Cleaned Properly, Instead Of Keeping Them in Seed Starters, Keep them In moisten Paper Towel & Lock in Zip Lock and Keep In Warm and Indirect Sun. You Will See A Root Coming Out of Seed in Less Than 4 to 5 Days, When You See the Little Root, We Need To Immediately Sow Them To Starters.
*** This Method Will Give Little Time Between The Steps, However A Fair Chance Of Getting Seeds Damaged. As I Tried Two Times and Succeeded With Only One Time With very Good Fresh Seeds.
Success Scenario Pics...
 |
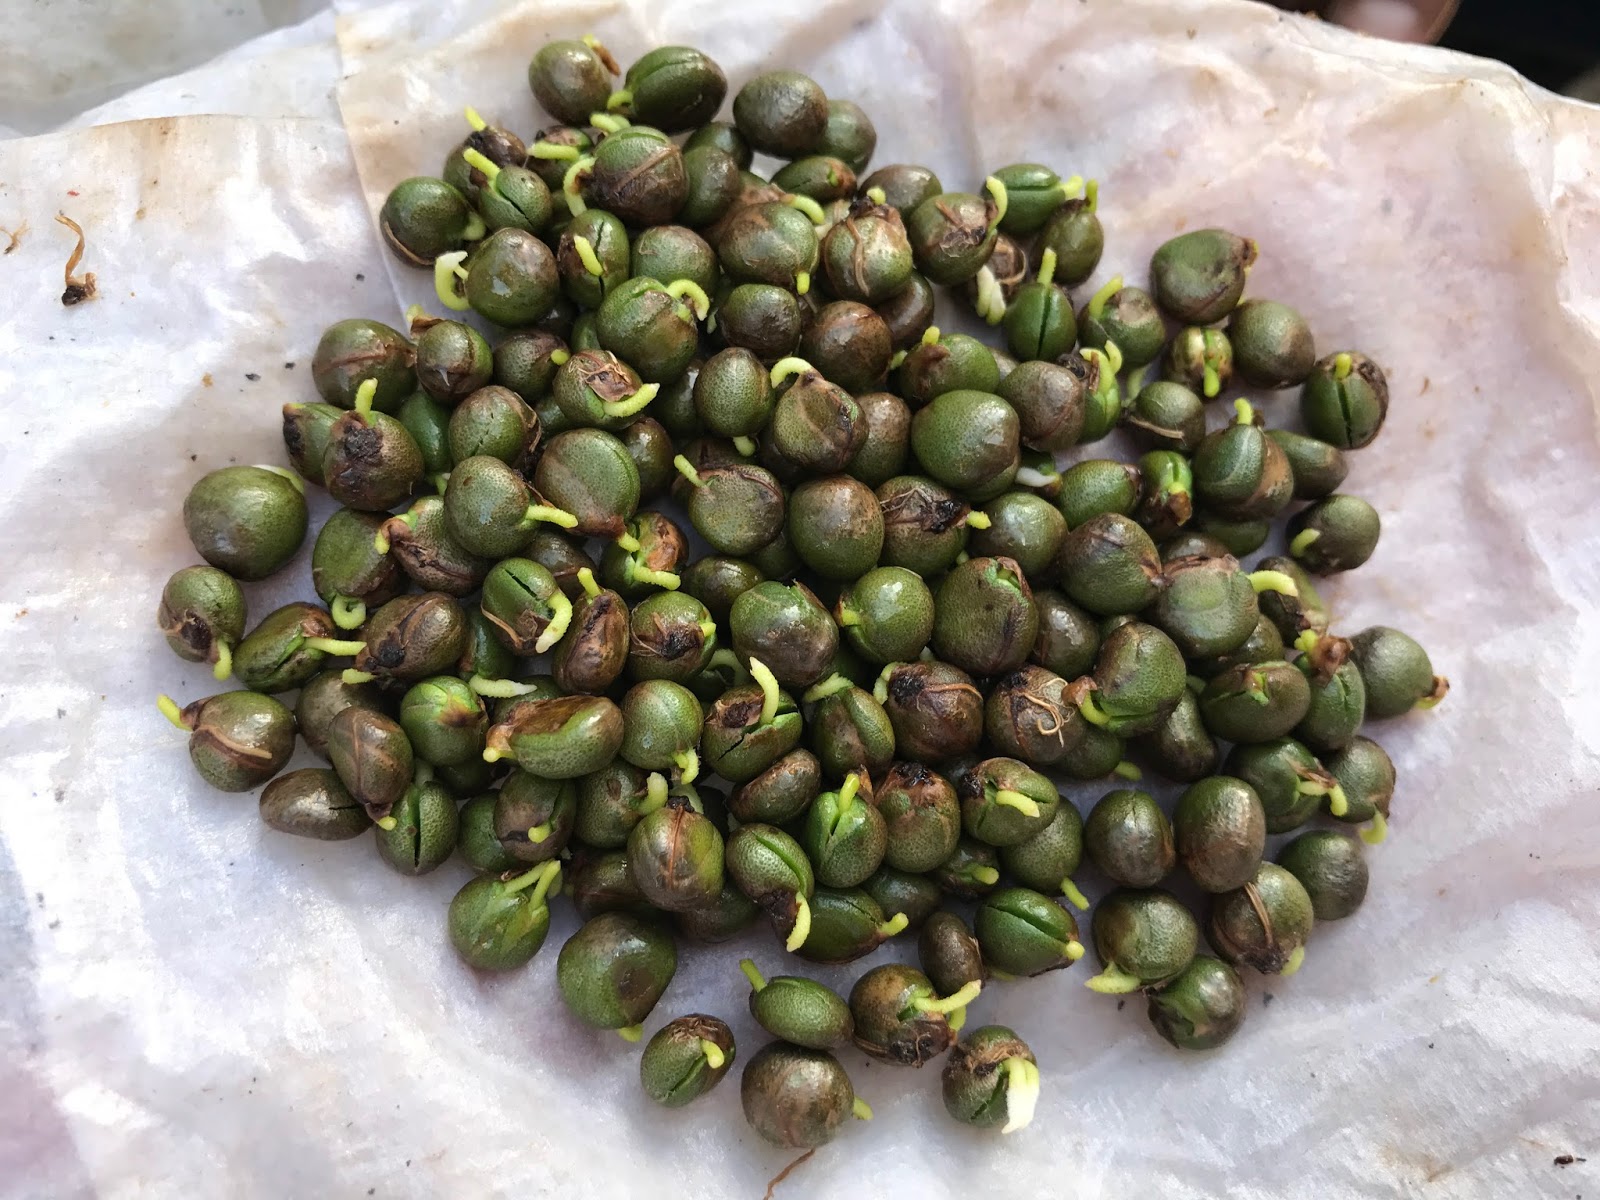
| Seeds Sprouted on 4th Day after kept in Zip lock and placed on Heat Mat |
 |
| Almost All The Seeds Sprouted. |
 |
| The Sprout That Came Off From Seed Called Root and Once We Place it in Soil, It Will Grow and Eventually We Get The Little Baby Curry leaf Plant. |
Failure Scenario : Once The Very First Time, I Failed With this process as the Seeds Are packed in Little Damp Wet Cloth. The Process Took Me Off Almost 100+ seeds From List. A Painful Story But Lessons Learned..!! Not A Great Idea Unless You Are Experienced, Sometimes Experience Doesn't Count. Just A Matter Of Green Thumb (Luck Factor :) )


 |
| My Husband Able to Split the Damaged Seed to find out The Sprout Inside..It's Mushy and Damaged. |
Until Then Have Happy Gardening...!!